Appearance
General Settings (Store Setup)
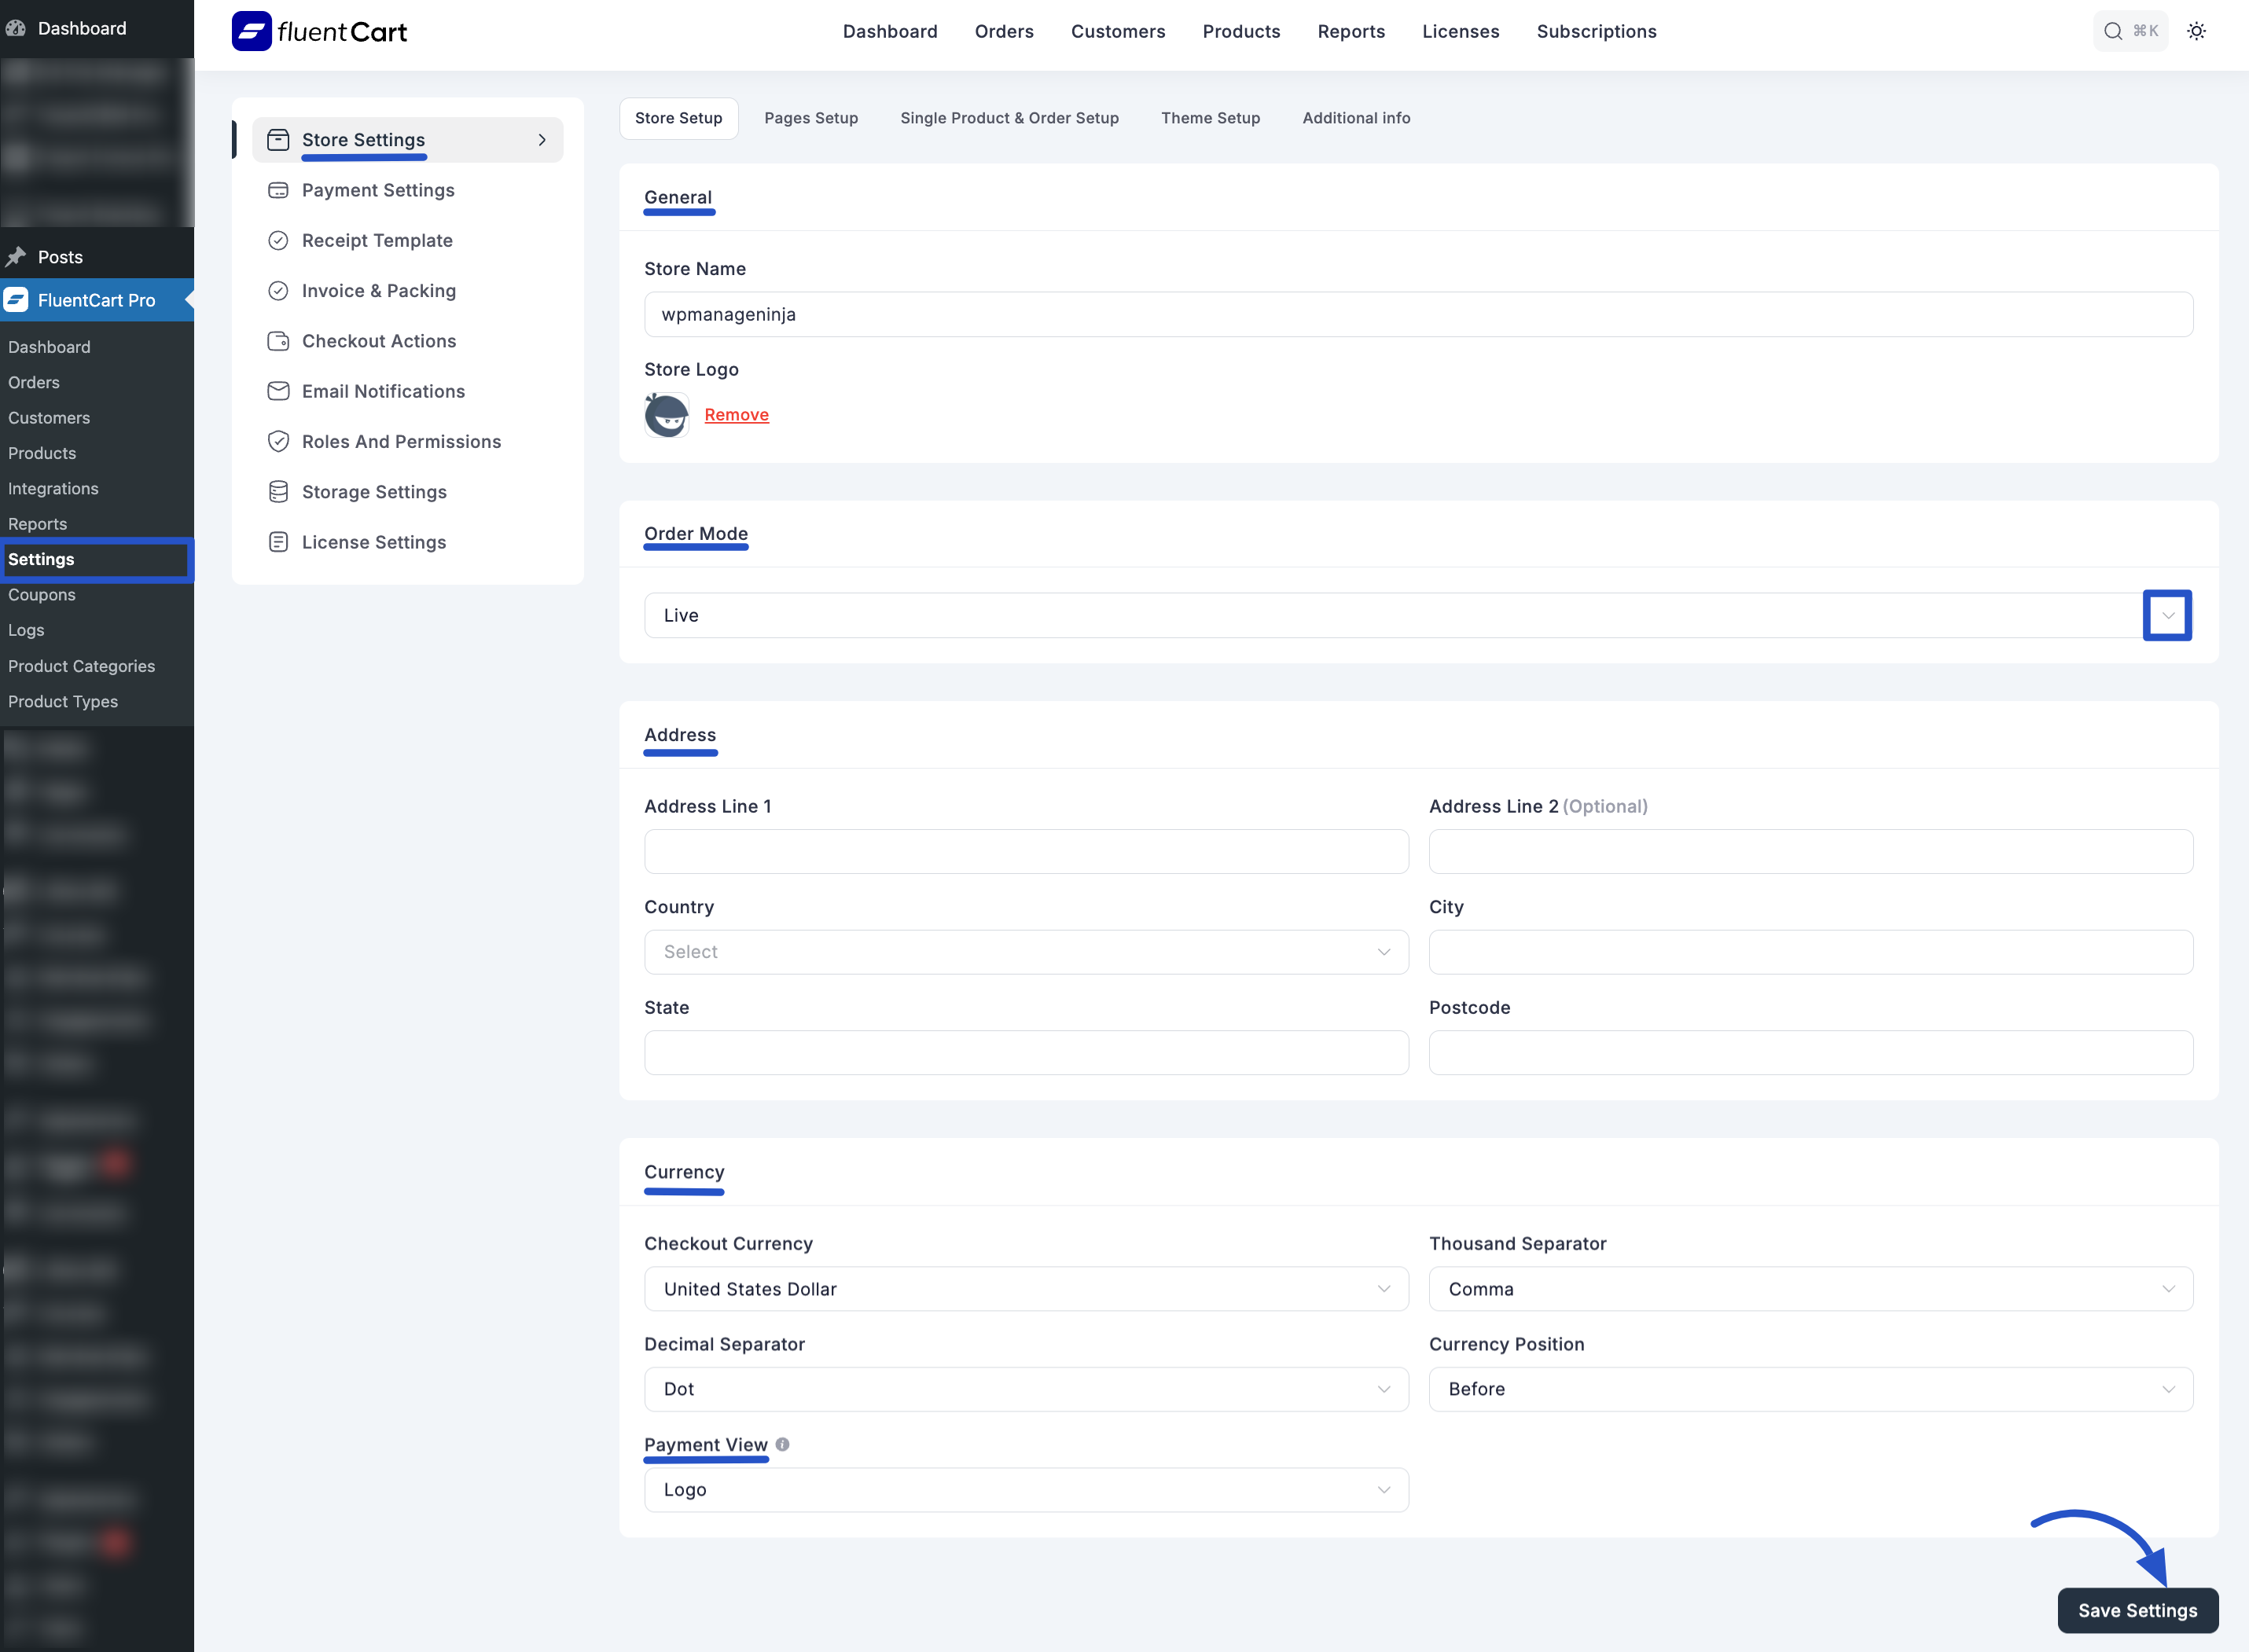
The General Settings (Store Setup) screen is where you configure the fundamental information about your FluentCart store. This includes your store's name, logo, physical address, and essential currency settings, all of which are crucial for the basic operation and branding of your online business.
Accessing General Settings
From your WordPress dashboard, navigate to FluentCart Pro > Settings in the left sidebar.
By default, you will land on the "Store Settings" tab, which houses the General Settings.
Configuring Your Store Details
1. General Information
- Store Name: Enter the official name of your online store. This name will often appear in various parts of your store, emails, and reports (e.g., "WPManageNinja").
- Store Logo: You can upload your brand's logo here. This logo may be used in receipts, invoices, or other areas of your store.
- Click the "Remove" button if you wish to remove an existing logo.
2. Order Mode
Select your store’s order mode from the dropdown. There are two options: Test and Live. Use "Test Mode" while setting up your store. Switch to "Live Mode" when you're ready to start accepting real orders.
2. Address
Provide your physical business address details. This information can be used for shipping calculations, tax purposes, and displayed in various store documents.
- Address Line 1: Enter the primary line of your street address (e.g., "42 b").
- Address Line 2 (Optional): Enter any additional address details (e.g., "ttt").
- Country: Select your store's operating country from the dropdown (e.g., "Bangladesh").
- State: Enter your state or province (e.g., "sylhet").
- City: Enter your city (e.g., "sylhet").
- Postcode: Enter your postal or ZIP code (e.g., "3100").
3. Currency
Configure the currency settings for your store's transactions.
- Checkout Currency: Select the primary currency in which your products will be priced and payments will be processed (e.g., "United States Dollar").
- Decimal Separator: Choose the character used to separate the whole number from the fractional part in prices (e.g., "Dot" for
10.50, "Comma" for10,50). - Thousand Separator: Choose the character used to separate thousands in larger numbers (e.g., "Comma" for
1,000.00, "Dot" for1.000,00). - Currency Position: Select where the currency symbol should appear relative to the amount (e.g., "Before" for
$10.00, "After" for10.00$).
4. Payment View
- Logo: This option likely controls whether your store's logo appears on payment-related pages or elements during the checkout process.
Saving Your Settings
After making any changes to your General Settings, remember to click the "Save Settings" button at the bottom right of the screen to apply your configurations.